Account overview
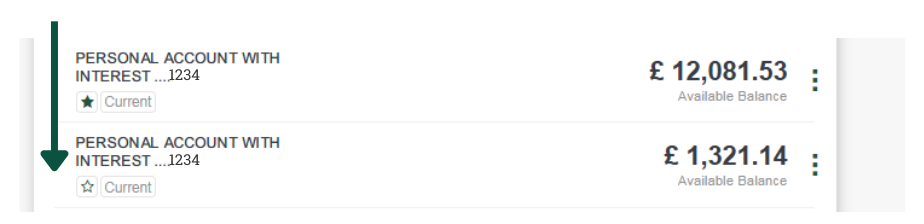
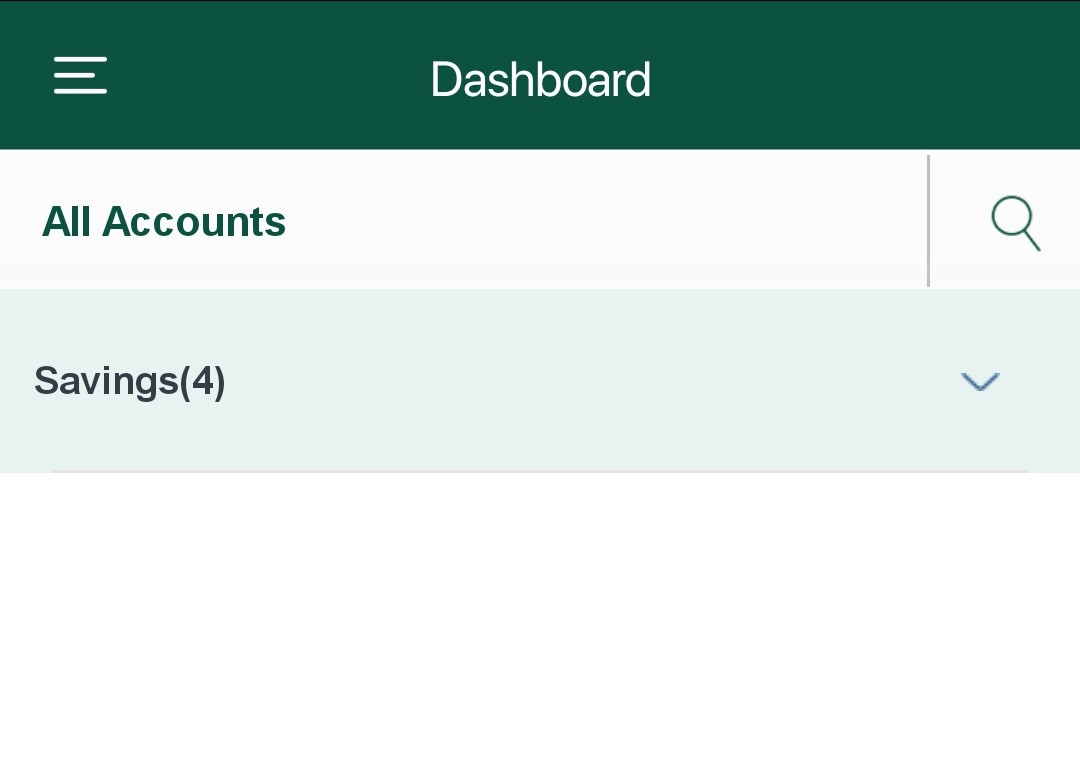
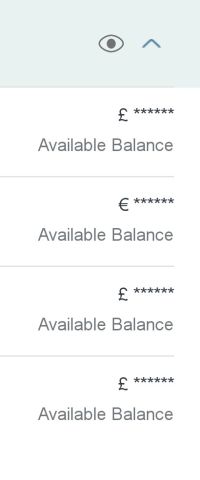
Your login screen shows an overview of all of your accounts.
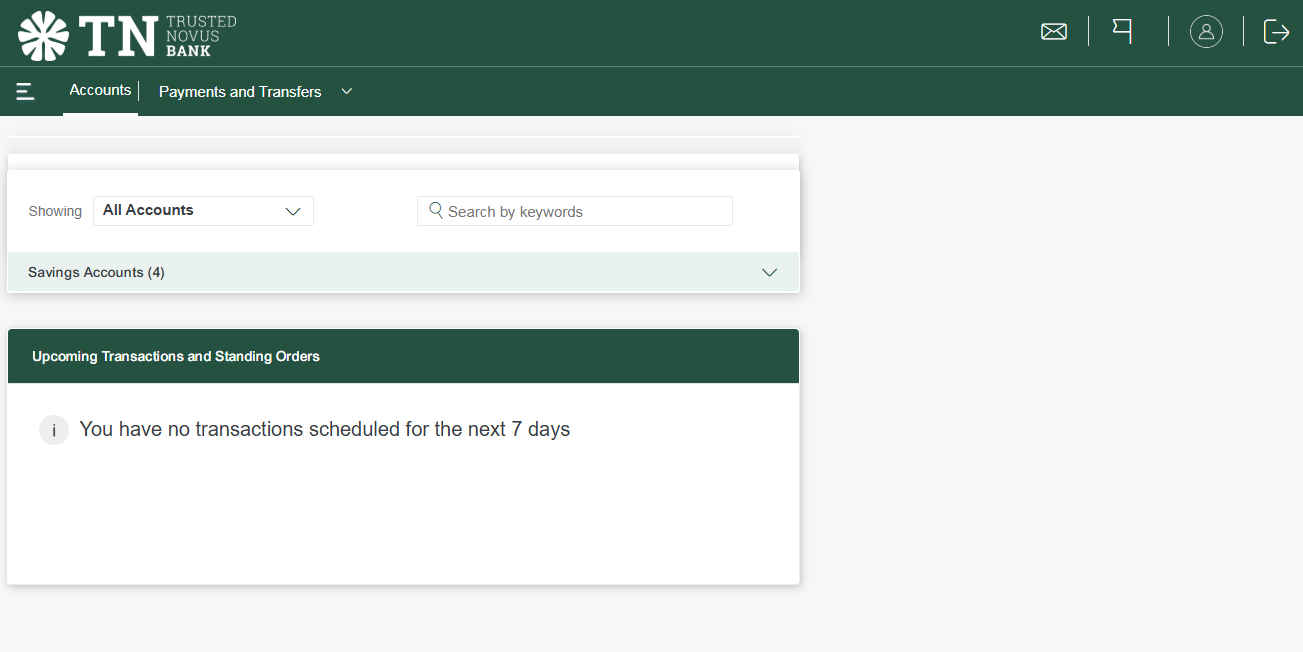
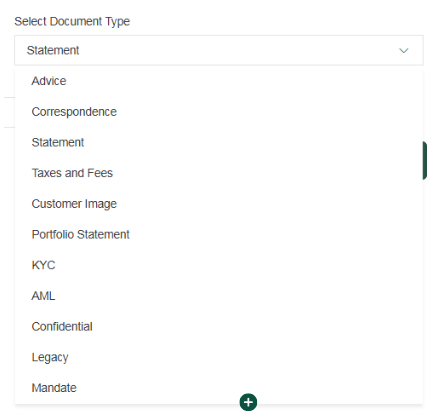
2. Select “All Accounts” and from the drop down menu select the appropriate type. Depending on your set-up you may have more options to select from within the drop down menu than shown in the image above.
Via the Mobile Application, the view will differ slightly. The ‘eye’ icon is only visible via the Mobile Banking App allowing you to show or hide the balances relating to the accounts shown.

Account details
1. Click on the account to expand and view its details.

2. Once you have selected an account, it will expand, enabling you to view all information - see below:
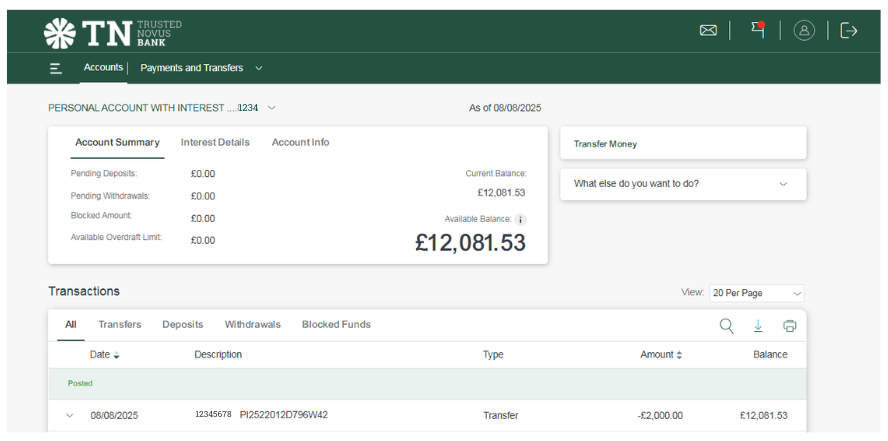
3. Account Summary:
- ‘Pending Deposits’
- ‘Pending Withdrawals’
- ‘Blocked Amounts’
- ‘Available Overdraft Limit’
- ‘Current Balance’
- ‘Available Balance’ (balance after pending transaction debited)
4. Interest Details:
- ‘Paid On’
- ‘Credit Interest Rate’
- ‘Last Paid Interest’
- ‘Paid Interest (YTD)’
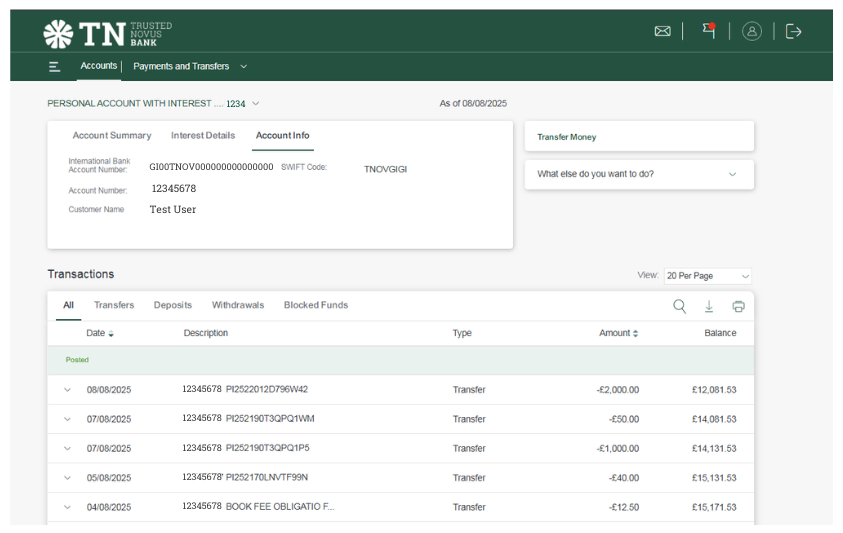
5. Account Info:
- ‘International Bank Account Number’ (IBAN)
- ‘Account Number’
- ‘Customer Name’
- ‘Joint Holder’ (if applicable)
- SWIFT Code
6. Transactions:
- ‘All’
- ‘Transfers’
- ‘Deposits’ (This is for cash only)
- ‘Withdrawals’ (This is for cash only)
- ‘Blocked Funds’
- ‘Search’ (for a specific transaction)
- ‘Download’
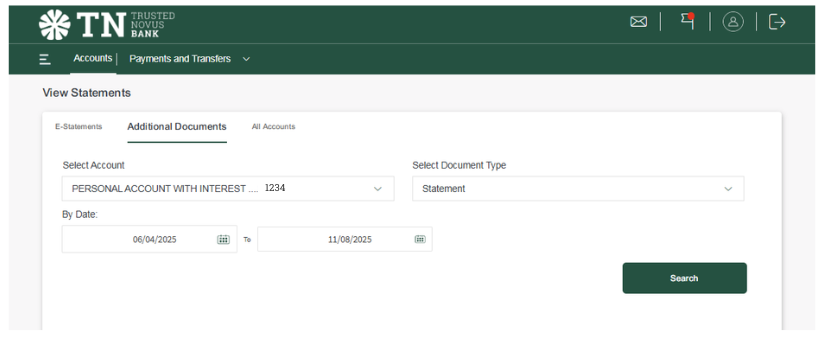
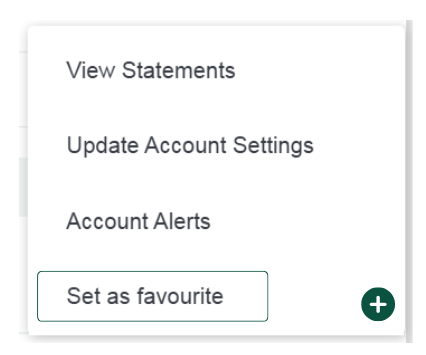
View Statements
1. Go to the ‘Menu’ in the top left corner and click ‘Account Statements’.

2. This will take you to ‘View Statements’.
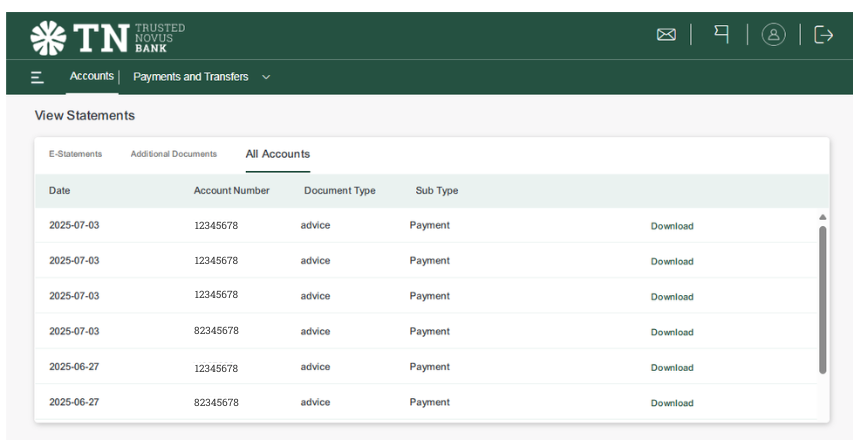
3. Here you have the options to view: